
If you’re installing a new car stereo, and don’t want to use the factory wiring harness, you’ll need to know how to wire it yourself.
Wiring harnesses make the process much simpler by providing all the necessary connectors and wires for your new stereo. But if you don’t have a wiring harness, don’t worry – it’s still possible to install your new stereo yourself.
This guide will show you how to wire a car stereo without a harness in seven easy steps. Just make sure you have the right tools and connectors, and you’re good to go!
Keep in mind that depending on your car’s make and model, the process may vary slightly. However, in general, the steps are pretty similar no matter what kind of car you have.
How to wire a Car Stereo without Wiring Harness Adapter
Remove The Old Stereo

In order to install your new stereo, you’ll first need to remove the old one. This process will vary depending on your car, but it’s usually pretty straightforward. There are usually a few screws holding the stereo in place, so remove them and pull the stereo out. You may need a wire hanger or other tool to release the stereo from its mounting bracket.
Tools and Materials Needed:
- Wire Stripper
- Crimping Tool
- Circuit Tester
- Crimp Cap
- Electrical Tape
Identifying Car Stereo Wiring harness

- Yellow Wire – Constant
- Blue Wire- Remote turn on 12V and Power Antenna 12V
- Black Wire – Ground
- Red Wire – Accessory 12V
- Orange Wire – Illumination
- Orange Black Wire – Dimmer
- Green Wire – Left rear speaker Positive
- Green Black Wire – Left rear speaker Negative
- Purple Wire – Right rear speaker Positive
- Purple Black Wire – Right rear speaker Negative
- White Wire – Left front speaker Positive
- White Black Wire – Left front speaker Negative
- Gray Wire – Right front speaker Positive
- Gray Black Wire – Right front speaker Negative
Now you know the basics of car stereo wiring, let’s move on to the installation.
How to Identifying Car Wiring and Connect it to a Car Stereo Wiring Harness
Constant wire in a car
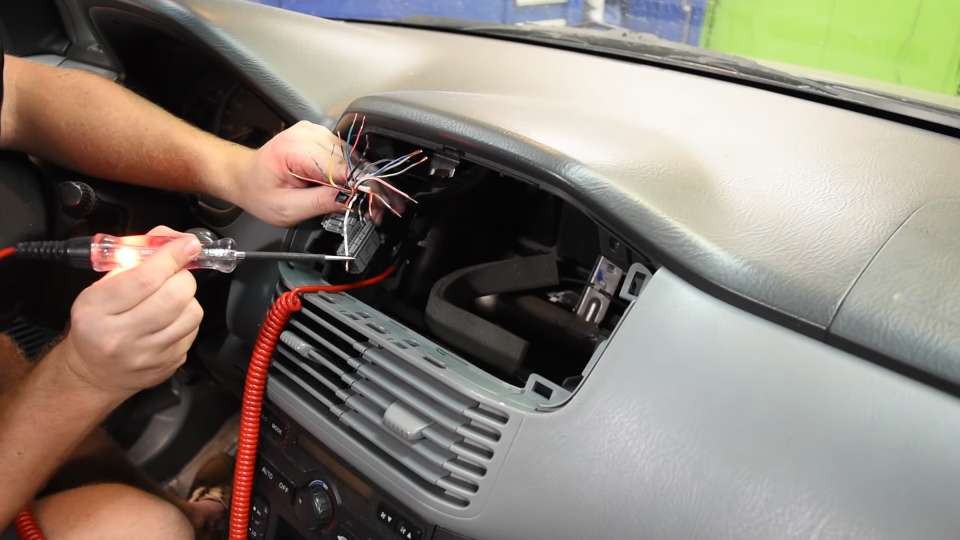
First, strip the wire about half an inch. After that, use a Circuit Tester and touch each of the wires until it lights up. The test light not lighting up usually means that the constant wire goes directly to the battery.
Be careful not to let the wires touch each other as it could short out the wire. If there is no power on any of the wires, check the fuse to see if it is blown. The dome light and the radio are usually connected to the constant wire.
Once the constant wire is found, twist it with the yellow wire on the car stereo wiring harness. Then put a white cap on it and use a high-quality crimp tool to connect the two wires.
Ignition switch for accessory wire:
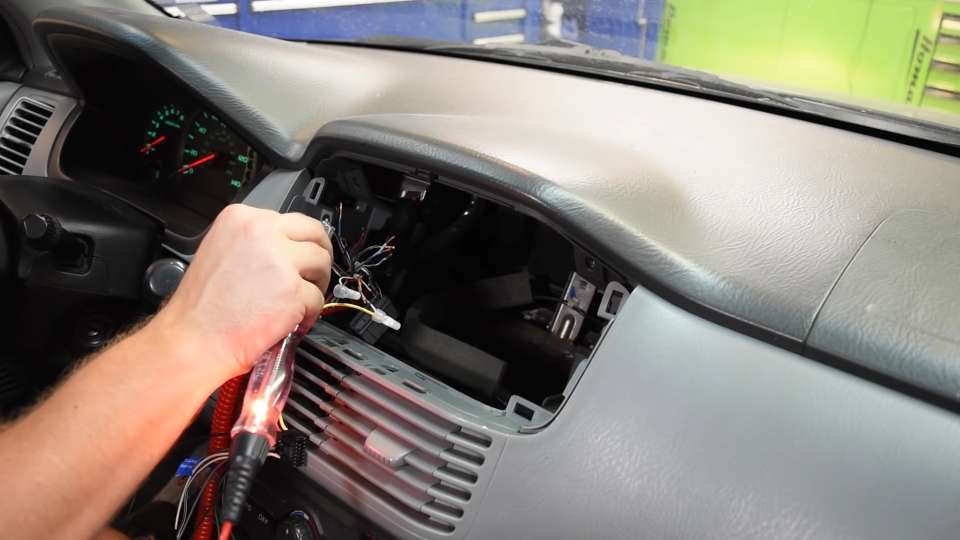
You will need to take your key and put it in the ignition. Then, turn it to the on position without starting the car. Now, you will need to find the ignition switch for the accessory wire.
To do this, you will need to take your Circuit Tester and touch each one of the wires with the test light until it lights up.
Once you have found the wire that lights up, twist it together with the accessory wire you found on the Car stereo.
Then, go ahead and twist those two wires together and put a white cap on it. Use a high-quality crimp tool to connect the two wires. This will ensure a good connection.
Illumination wire:
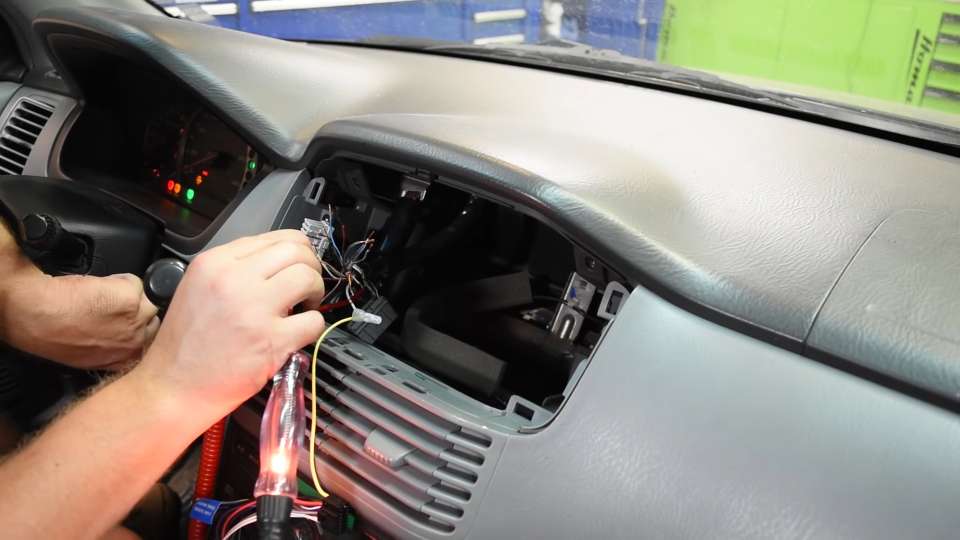
First, you need to identify the illumination wire on the car. The wire will usually be brown, but it may also be white or another color. To find it, turn on the headlights and use a circuit tester to touch each wire in the harness until the test light illuminates.
Once you have found the illumination wire, twist it together with the orange wire from the Car stereo harness. Then, use a high-quality crimp tool to connect the two wires. Finally, put a white butt connector on the connection.
Ground wire:
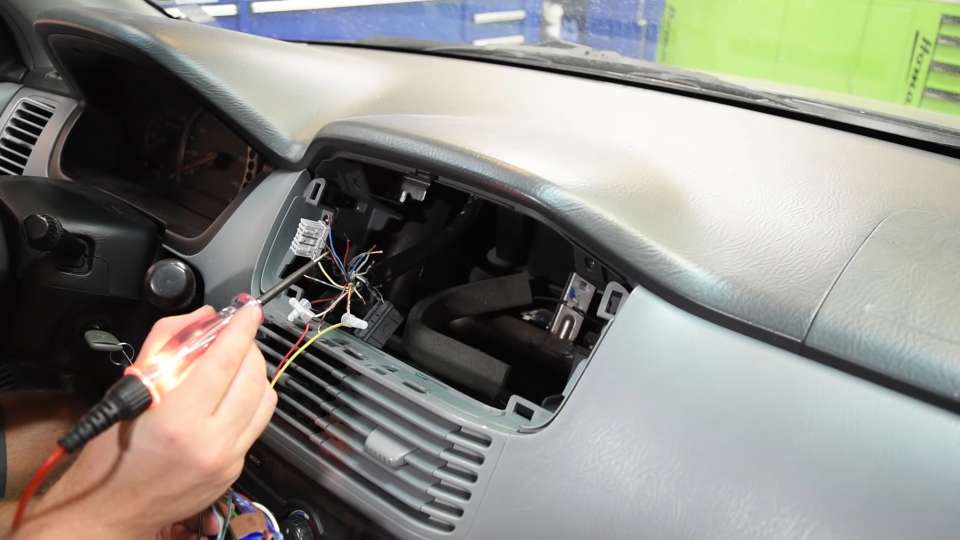
First, take the wire and stick it into the constant power on the radio wiring harness. Second, take the end of the test light and hook it to the end of the wire that’s been jammed into the constant wire. Third, touch the test light to different wires until you find the one that lights up, which indicates that it’s the ground wire. Black wires are typically used for ground on cars.
Speaker wire
You can use this method to identify the speaker wires if you have a nine-volt battery and alligator clips. Simply connect the alligator clips to the battery, with the negative on the negative and the positive on the positive.
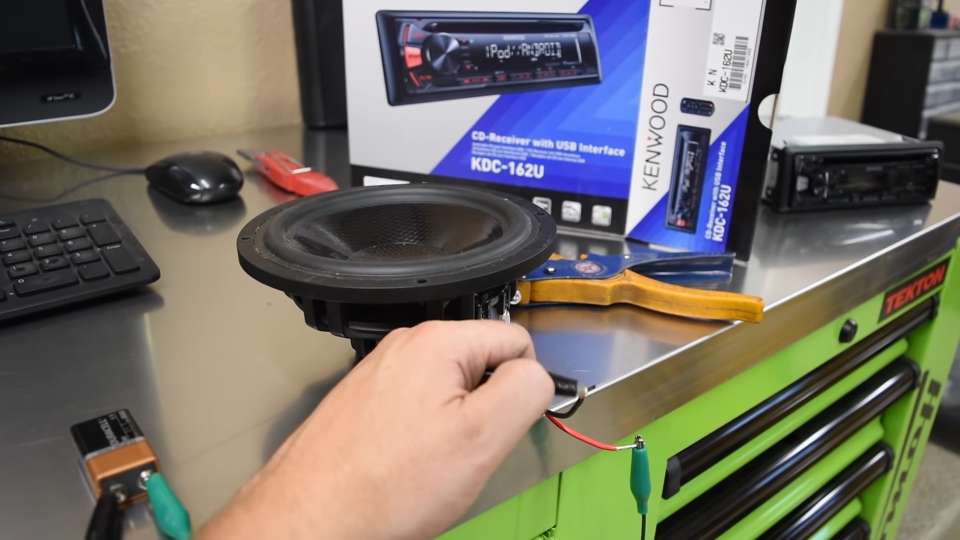
Then, touch the wires together and listen for a pop sound. This will help you to determine which wires are inside the vehicle. If you touch the wires together and the speaker moves out, you correctly connect the positive and negative. If the speaker moves in, you have the wires reversed and need to adjust accordingly.
Then, twist the stereo speaker wires and car wires together and put a white cap on it. Use a high-quality crimp tool to connect the two wires. This will ensure a good connection.
To find the other speaker wires, follow this method for the positive and negative wires.
Test your new stereo

Once the wiring is connected, you can test the new stereo to ensure it works properly. To do this, turn on the stereo and see if it powers on. Then, try playing some music to see if the speakers are working. If everything seems to be working correctly, you are all done!
Hide all of the wirings by tucking it into the dashboard

Once you have tested the new stereo and confirmed that it is working correctly, you can tuck all the wirings back into the dashboard. Be sure to tuck it back far enough so that it will not interfere with the movement of the stereo.
Insert the new stereo into its position

Now that the wiring is secure and out of the way, you can slide the new stereo back into place. Once it is in place, you can re-attach the bolts or spring clips that hold it in. Do not overtighten the bolts, as this will strip the threads.
Related Post – How to Connect Backup Camera to Head Unit
Troubleshooting tips.
Before You Begin:
- Double-Check Compatibility: Verify that your new car stereo is compatible with your vehicle’s electrical system (voltage, wattage). Mismatches can lead to damage.
- Gather Information: Obtain a wiring diagram for both your car and the new stereo. This is crucial for identifying wire functions.
During Wiring:
- Identify Wires Accurately: Triple-check wire colors using a reliable source (diagrams, multimeter) to avoid short circuits or malfunctions.
- Test Unknown Wires: Use a multimeter to safely identify the function of unknown wires in your car’s harness.
- Isolate and Protect Bare Wires: Insulate any exposed wires with heat shrink tubing or electrical tape to prevent shorts.
- Secure Connections Properly: Use high-quality crimp connectors or solder connections (with heat shrink tubing) to ensure strong and lasting connections.
- Double-Check Connections: Before powering on the stereo, meticulously re-check all wire connections for accuracy and security.
After Wiring:
- Test Gradually: Initially, connect only the power and ground wires to the stereo. If no sparks or smoke occur, proceed with connecting the speaker wires one by one.
- Verify Functionality: Test each speaker and stereo function (radio, CD, USB, etc.) to ensure proper operation.
- Address Power Issues: If the stereo doesn’t power on, check the fuse for the radio circuit in your car’s fuse box. Replace it if blown, but be sure to use the correct amperage fuse.
- Check Speaker Balance/Sound Quality: If you experience uneven sound distribution or distorted audio, double-check speaker connections (including polarity) and wiring for any shorts or grounds.
Additional Tips:
- Consider Complexity: Be honest about your electrical knowledge and skills. If you’re unsure or uncomfortable with wiring, consider seeking professional help to avoid damaging your car’s electrical system.
- Take Your Time: Don’t rush the process. Careful and methodical work is essential for a successful installation.
- Label Your Wires (Optional): For future reference or troubleshooting, you can label the car’s wires with their functions before disconnecting them from the factory stereo.
- Use High-Quality Materials: Invest in good quality crimp connectors, heat shrink tubing, and electrical tape to ensure reliable connections.
FAQs
What color are rear speaker wires?
Rear speaker wires are usually either blue or red. If your car stereo has two sets of rear speakers, one set may be blue and the other may be red. In most cases, the right rear speaker will be blue and the left rear speaker will be red. You’ll need to match up the colors of the wires in order to connect them properly.
What is a SWC connector?
A SWC connector is a type of electrical connector used to connect two wires together. SWC connectors are also known as solderless wire connectors or quick-connect terminals. SWC connectors are typically made from copper or brass and have a plated finish that helps to prevent corrosion. SWC connectors are available in a variety of sizes and styles to accommodate different wire gauges and applications.
Which side is positive for a speaker?
The positive side of a speaker is the one that has the red wire. The red wire is typically connected to the + terminal on a speaker, while the black wire is connected to the – terminal. If you are using a powered speaker, then the red wire will be connected to the positive terminal on the amplifier and the black wire will be
What happens if you mix up positive and negative speaker wires?
If you connect the positive wire to the negative terminal and the negative wire to the positive terminal, then the speaker will not work. The electrical current will flow in the wrong direction and the speaker will not be able to produce sound.
What does A and B mean on speakers??
A and B refer to the left and right channels on a speaker. Most speakers have two channels, which allows them to produce stereo sound. The A channel is the left channel and the B channel is the right channel. If you are using a mono speaker, then it will only have one channel.
What color is positive and negative speaker wire??
Positive speaker wire is typically red, while negative speaker wire is typically black. However, it is important to check your specific stereo system’s wiring diagram to be sure. Incorrectly connecting positive and negative wires can damage your speakers or cause other problems.
What happens if car speakers are wired backwards?
If your car speakers are wired backwards, the sound quality will be diminished and the speakers may not work properly. Additionally, if you wire your car stereo system incorrectly, you could cause damage to your car’s electrical system. Always consult a professional when installing a car stereo system to ensure proper installation.
Conclusion – How can you make a wiring harness for a car stereo?
Making a car stereo wiring harness yourself is possible, but it requires some electrical knowledge and soldering skills. Here’s a basic rundown:
Materials:
- Wire strippers/cutters
- Crimpers (optional, for some connector types)
- Soldering iron (recommended for best connections)
- Heat shrink tubing (to insulate connections)
- Automotive wire (matching gauge to existing wires)
- Aftermarket stereo wiring harness
- Car stereo wire pinout diagrams (for both car and stereo)
Steps:
- Identify wires: Use the pinout diagrams to identify the function of each wire on both the car and stereo harnesses (power, ground, speakers, etc.).
- Match and connect wires: Match the corresponding wires (usually color-coded) and securely connect them using crimp connectors or soldering (with heat shrink tubing for insulation).
- Double-check and insulate: Double-check all connections for accuracy and insulate them properly to avoid shorts.
Related Posts
thank u that was very helpful I’m installing a pioneer in my 96 Ford mustang and now I know why the last stereo didn’t keep the display settings but it was also a more complex stereo that didn’t have all the software to run it so im go simpler again thank u i like DIY videos
I am Glad, you found it helpful!